准备工作
- 安装编译器和调试器,我们实际上是通过vscode使用gdb来调试程序
sudo apt install g++ gcc gdb build-essential - 在vscode中安装 C/C++ 插件:
 ]
] - 创建一个工程,其结构如下:
. ├── build ├── CMakeLists.txt ├── include │ └── add.h ├── main.cpp └── src └── add.cpp - 工程中各文件内容如下:
- CMakeLists.txt
cmake_minimum_required(VERSION 3.0) project(USEDEBUG) set(CMAKE_CXX_FLAGS "${CMAKE_CXX_FLAGS} -Wall") set(CMAKE_BUILD_TYPE Debug) # 注意要以Debug模式编译 include_directories(${CMAKE_SOURCE_DIR}/include) add_executable(main main.cpp src/add.cpp) - add.h
#pragma once int add(int a, int b); - add.cpp
#include "add.h" int add(int a, int b) { int c = a + b; return c; } - main.cpp
#include <iostream>
#include "add.h"

int main()
{
    int a = 20;
    int b = 12;
    std::cout << "a + b = " << add(a, b) << std::endl;

    return 0;
}
- CMakeLists.txt
- 在工程根目录下执行以下命令编译运行程序,终端应输出
a + b = 32:cd buildcmake ..make./main
添加配置文件(在.vscode目录下)
launch.json:配置gdb的参数,重要的参数已有注释说明
{ "version": "0.2.0", "configurations": [ { "name": "g++ build and debug active file", "type": "cppdbg", "request": "launch", "program": "${workspaceFolder}/build/main", // 编译出来的可执行文件的路径 "args": [], "stopAtEntry": false, "cwd": "${workspaceFolder}", "environment": [], "externalConsole": false, "MIMode": "gdb", "setupCommands": [ { "description": "Enable pretty-printing for gdb", "text": "-enable-pretty-printing", "ignoreFailures": true } ], "preLaunchTask": "my_build", // 启动gdb前要做的事,和tasks.json中的label对应 "miDebuggerPath": "/usr/bin/gdb" } ] }tasks.json:自定义启动gdb前的任务,重要的参数已有注释说明
{
    "version": "2.0.0",
    "options": {
        "cwd": "${workspaceFolder}/build"   // 执行命令的位置
    },
    "tasks": [
        {
            "type": "shell",
            "label": "cmake",
            "command": "cmake",
            "args": [
                ".."
            ]
        },  // 即cmake ..
        {
            "label": "make",
            "group": {
                "kind": "build",
                "isDefault": true
            },
            "command": "make",
            "args": [
            ]
        },  // 即make
        {
            "label": "my_build",
            "dependsOrder": "sequence", // 按列出的顺序执行任务
            "dependsOn":[
                "cmake",
                "make"
            ]
        }
    ]
}
这样配置的话在每一次的调试前都会先重新编译一次代码,避免了手动编译
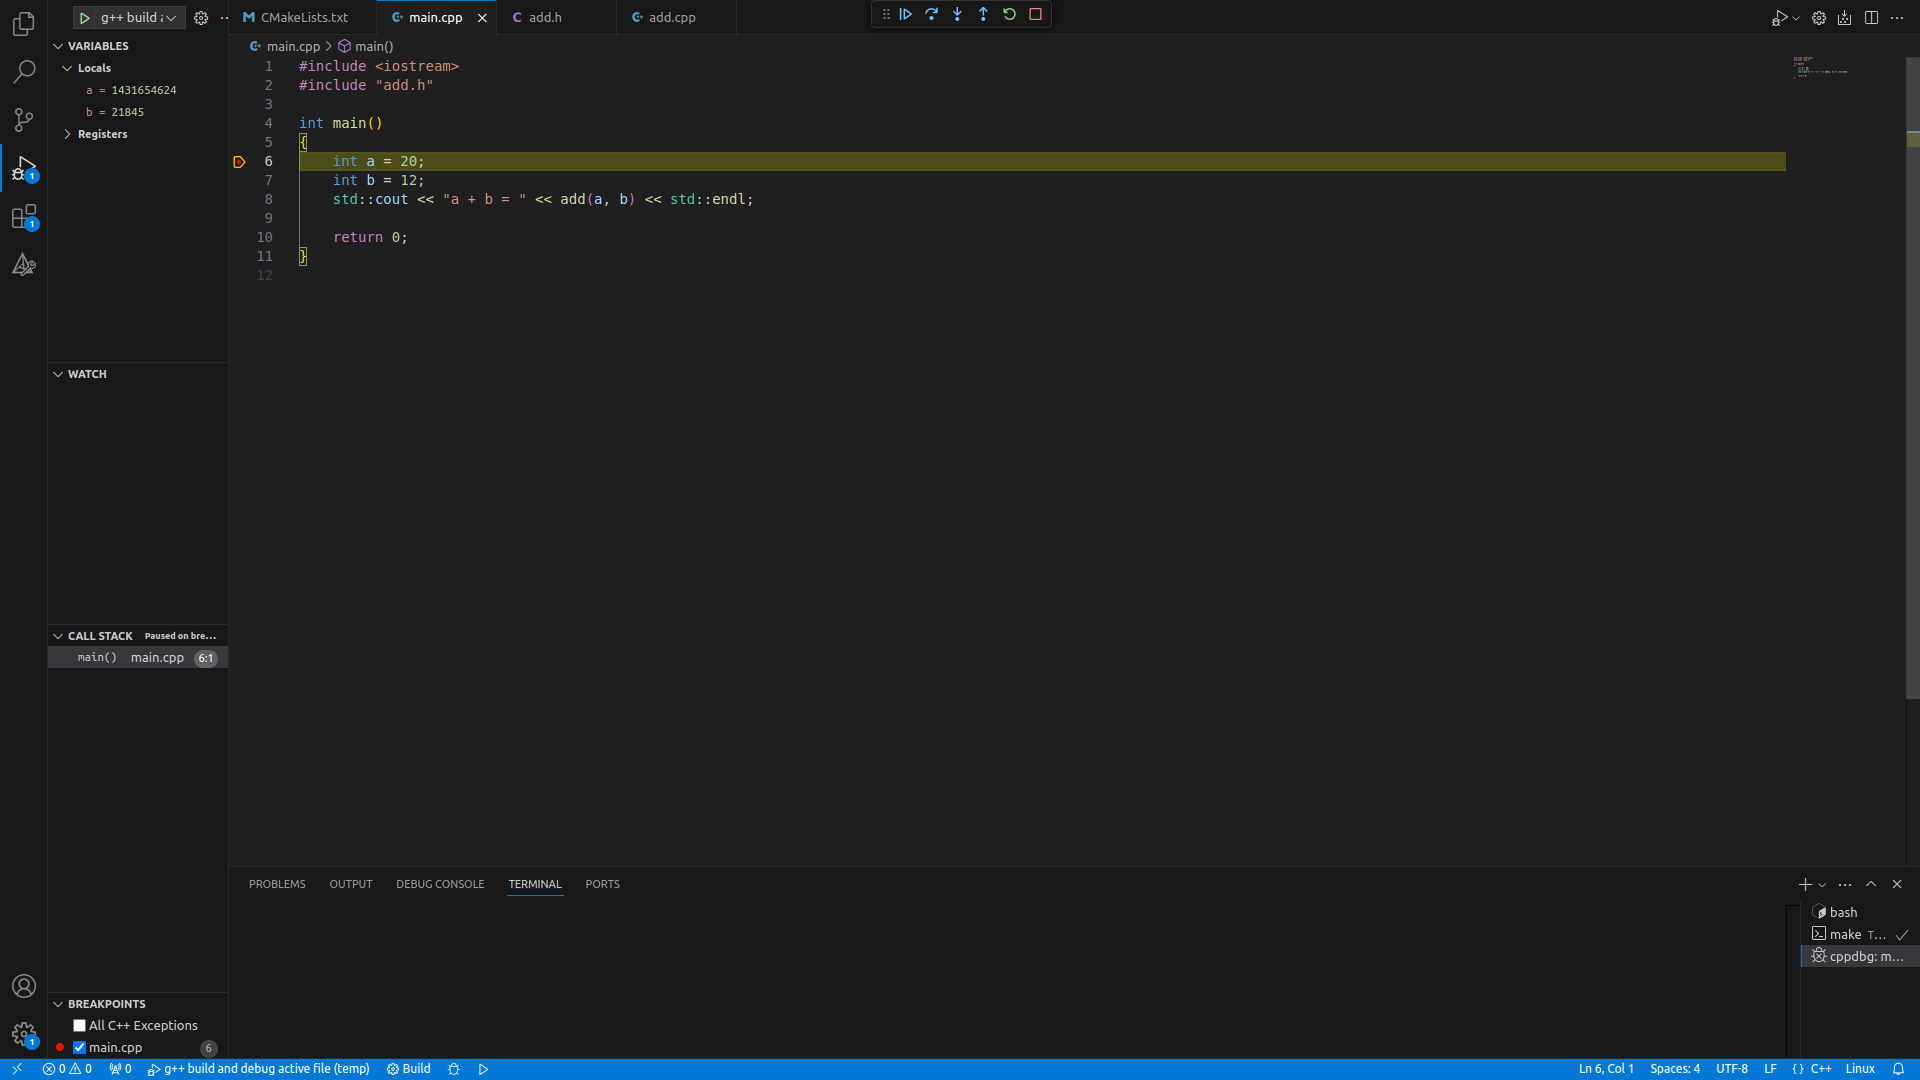
调试
打上断点,按F5开始调试,不出意外的话能够正常调试: